The post Photo Editing: 3 Tips For Working With Lightroom Presets You Have To Know appeared first on Hedonisitit.
↧
Lightroom is the number one tool in the world for editing photos. It has been a favorite of photographers worldwide since it first launched in 2007, and has recently become popular with bloggers and influencers. I edit all my photos with Lightroom and cannot even think of what I would have done without this fantastic tool! One of my favorite things about Lightroom is the photo editing presets that save valuable time on the photos I edit for my business and my clients.
As a photographer and Lightroom preset creator, I’m continually being asked about the correct use of presets.
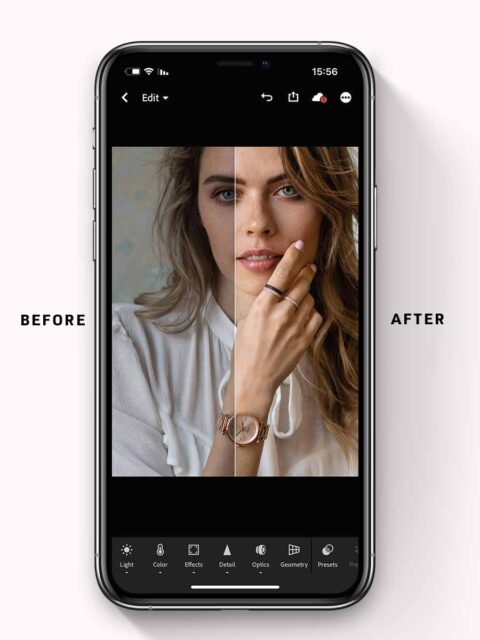
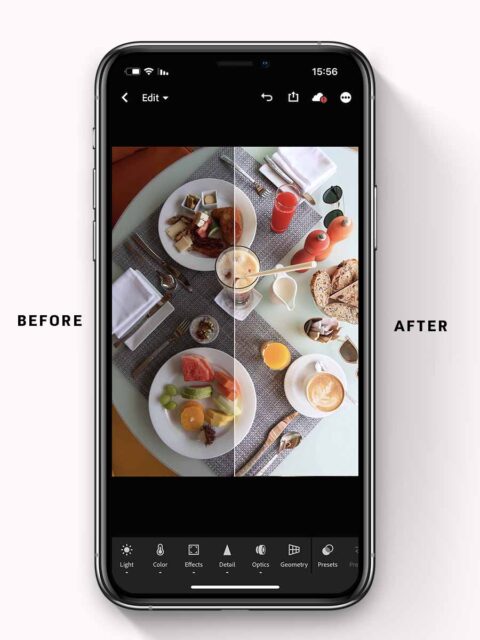
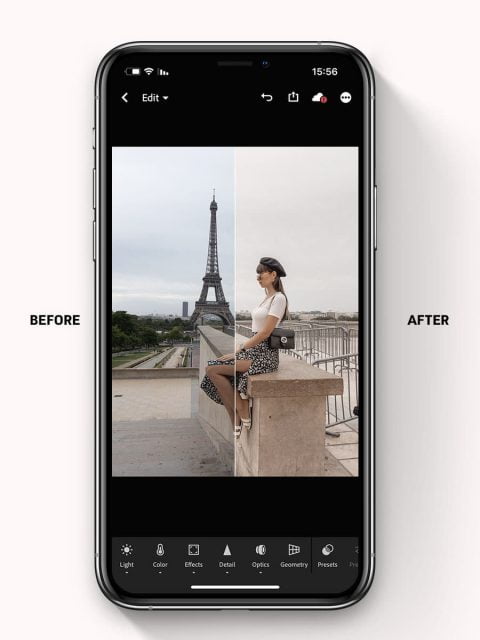
My presets give me a fantastic base to create beautiful and cohesive aesthetics in my photos. Still, it is essential to know that since every image is affected by different photography conditions (lighting, location, shade, and equipment), you sometimes have to change the presets a bit using the editing tools, according to each photo. That is why I’ve decided to put together a guide with the most essential tips on using presets in Lightroom.
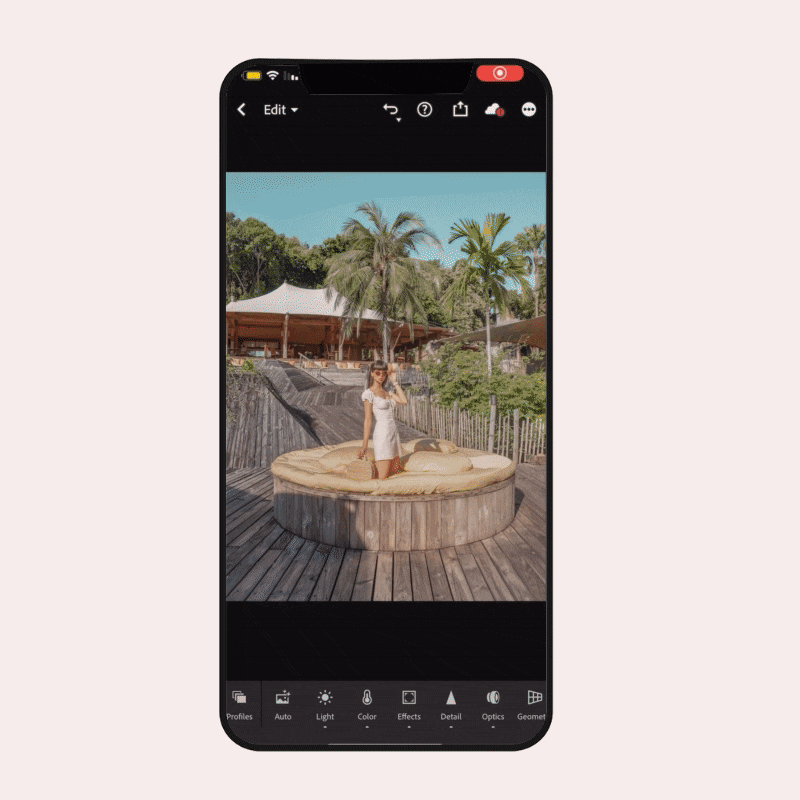
Note – the examples in this guide were taken from the smartphone version of Lightroom, but these tips can be applied to Lightroom Classic for PC as well.
In case this is the first time you’ve heard the word “preset” and have no idea what it means, let me clarify things for you before we begin
The meaning of the word preset is, as it says, to set something in advance.
Presets for editing photos in Lightroom are pre-determined settings of the photo editing tools.
Bottom line – the goal of using presets is to drastically reduce the time taken to edit the photos and maintain cohesive editing with a series of images.
After purchasing the preset, you can use it to edit photos in the Lightroom application (free app) quickly and easily, or via the Lightroom PC program (paid program). When you purchase the presets package, you get versions available for editing both in the free app and the PC program.
So come on, let’s go!
Changing the White Balance tool will balance the photo’s colorfulness and remove any overly dominant yellow or blue hues your images may have.
Changing the orange color’s Saturation and Luminance will balance out the skin tone in the photo.
Lowering the Clarity tool will blur out any imperfection in the photo.
I hope you found this short and important guide helpful!
If you liked this post, share it on Facebook and save it on Pinterest ♡
P.S. Interested in learning more about professional photography and photo editing? I invite you to join my free video workshop where I teach the formula I use to create professional and quality images for both my brand and my clients.
The post Photo Editing: 3 Tips For Working With Lightroom Presets You Have To Know appeared first on Hedonisitit.